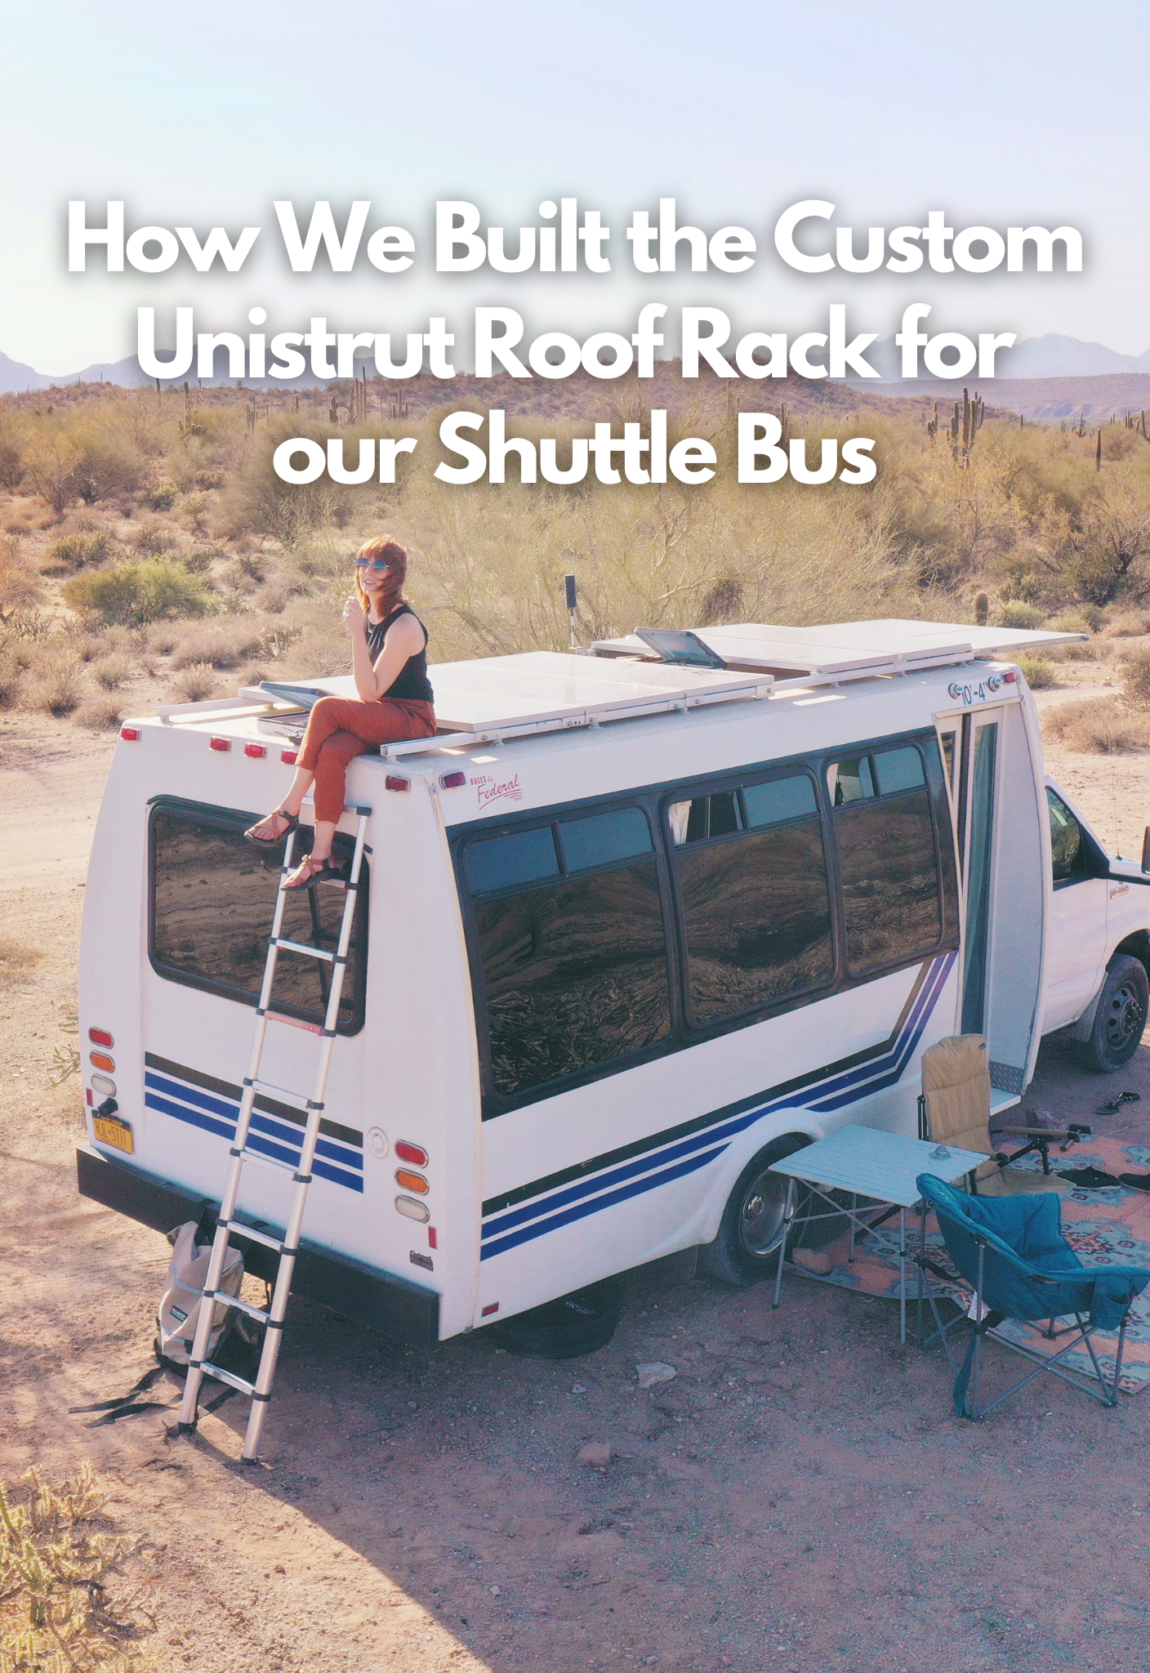
Custom Modular shuttle bus roof rack
When we purchased our shuttle bus and decided to convert it into our next home, we knew we’d need to design a custom roof rack that was equally strong and functional. Generally, most of the work done on these buses in custom. At this time there isn’t one product you can purchase and install for a shuttle bus roof rack. We were prepared to DIY this project however we couldn’t just jump right in. Instead we needed to design, plan, and pick out the best products to use for our specific shuttle bus.
When we were considering our options for securing our solar panels to the roof, we knew one thing for sure. We wanted the option to move things around in the future. Whether we decide we want more panels, less panels, or a rooftop deck, we didn’t want to be stuck with whatever we installed. Thats when we discovered Unistrut.
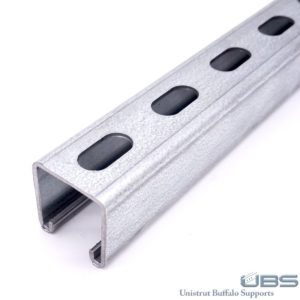
What is Unistrut?
Unistrut is a metal framing system that has unique connection points making it easily adjustable and customizable. There are hundreds of connectors and hardware pieces made for Unistrut. The possibilities are endless for custom racks.
We purchased our Unistrut from Lowes for $27.47 a pc. Our shuttle bus length required 15ft pieces but they only came in 10ft pieces. Instead, we decided to purchased three 10ft pieces, cut one in half and welded it to the ends of the other two. Once they were welded together, we made sure everything got a coat of Rustoleum.
Making the spacers
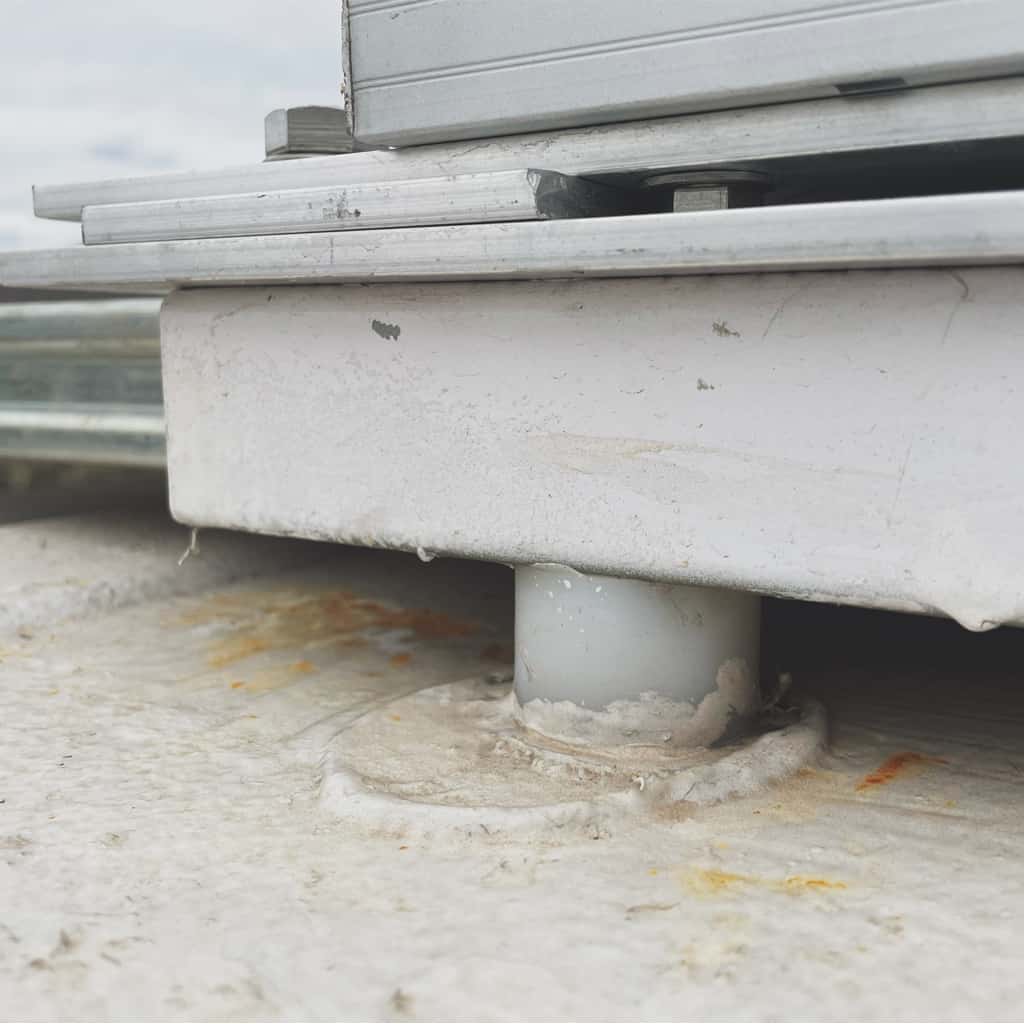
Setting the Unistrut directly onto the roof would put pressure on the fiberglass shell and not the metal frame of the bus. The metal frame is one of the strongest parts of the bus and we wanted the weight of the roof rack to be evenly distributed across the entire frame. To solve this, we needed to design a spacer between the roof and the Unistrut.
We used white industrial plastic tubing 1 5/8″ OD 1/2″ ID and cut the tubing into 16 1″ pieces.
On the inside of our bus we had main framing pieces that ran side to side. On these bars we needed to decide how far in from the edge of the shuttle bus the Unistrut would be placed. This number was decided based on how wide our solar panels are. We then used that measurement to mark even spots on each frame section.
Using a drill bit, we drilled up through the frame and fiberglass roof.
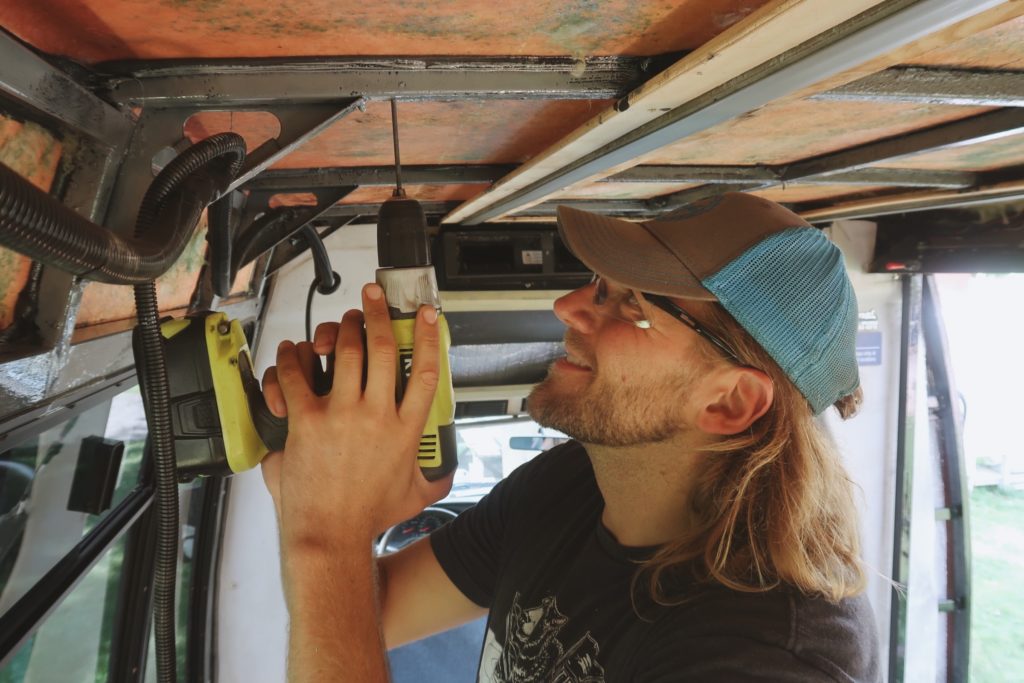
Cross-Cut View of the shuttle bus Roof
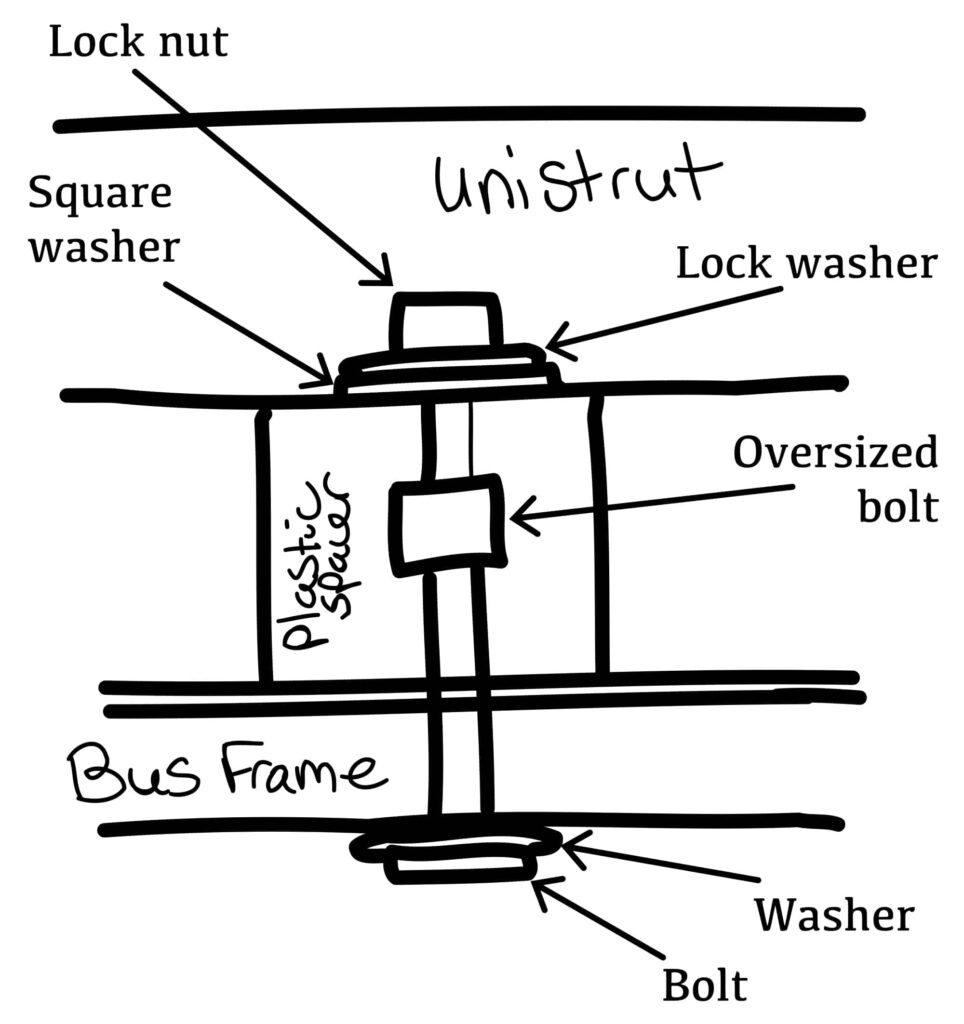
The hand drawn diagram is the sidecut view of how we secured the Unistrut down to the frame of the bus.
From top to bottom:
- Lock nut
- Lock washer
- Square washer (to fit inside Unistrut)
- Pass through Unistrut
- Spacer with a nut larger than our bolt
- Pass through thin fiberglass shell
- Pass through frame of bus
- Washer
- Bolt
We decided to add a nut larger than our bolt into the plastic spacer to keep it from traveling around since the spacer is so much larger than the bolt. This might be unnecessary but at the very least it does no harm.
It was then time to apply silicone to inside and outside of the bus at all 16 connection points. This step is imperative to prevent future leaks. The roof also got two coat of Henry’s Tropi-Cool to seal and protect everything.
Roof Coating: Henry’s Tropi-Cool 1 Gal
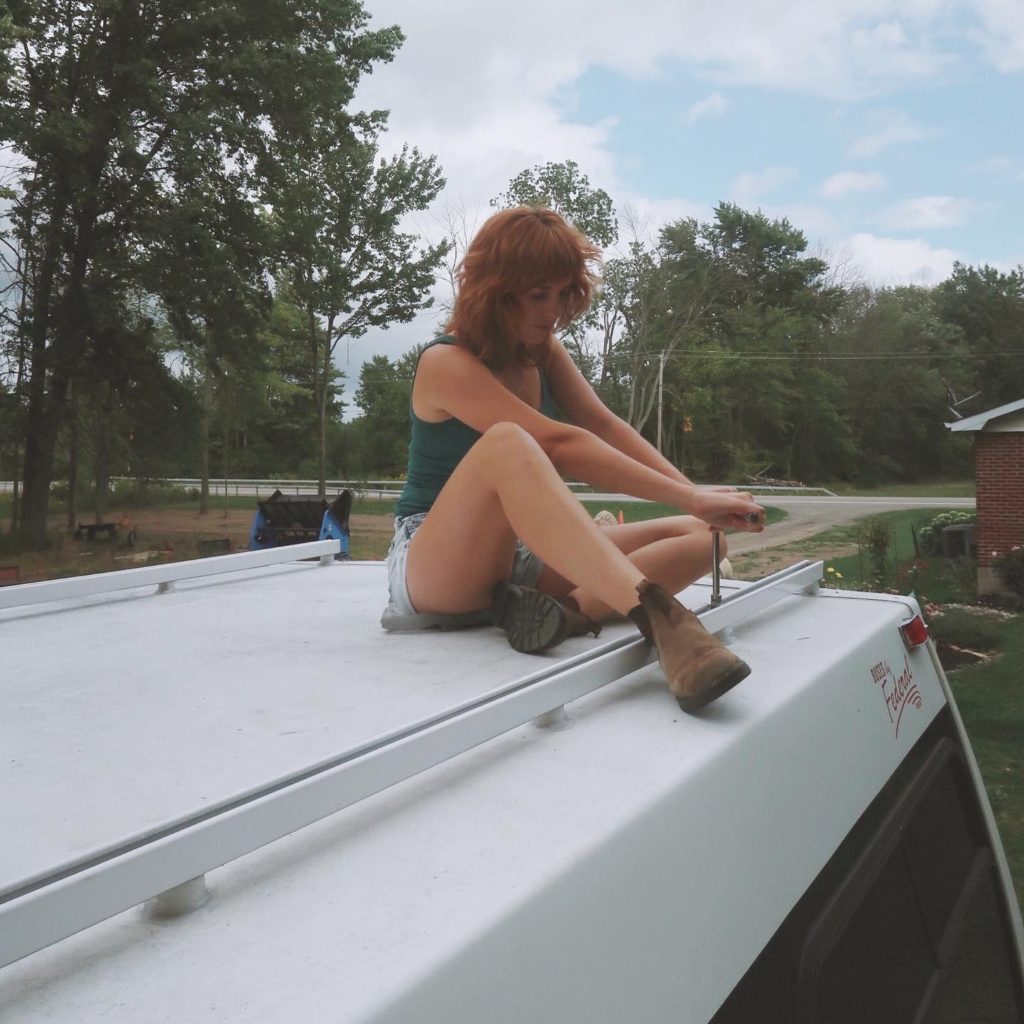

Attaching the front Solar Panels & slides
Next it was time to move on to making the solar slide. These are the two panels that slide out from under the front two.
The slide itself is made up of two 200w panels secured together to make one large panel or “super panel”. This was done using aluminum angle at the seam points on the front and the back of the panels. The panels are bolted to each other at the seam down the middle. We used 2″ x 1/4″ aluminum strip across the middle to provide extra stability and prevent sagging.
Our Solar Panels: Rich Solar 200w Solar Panels

Next we connected the “super panel” to 58 inch full extension heavy duty drawer slides using nuts, bolts, and lock washers.
60 Inch Heavy Duty Drawer Slide: VEVOR 60″ Heavy Duty Locking Drawer Slides
We then drilled holes on the inside of the Unistrut to mount the drawer slides and a slide test showed that everything was working correctly.
Now we moved on to the panels directly above the slide. In order to do this we needed to raise above the Unistrut with enough clearance for the slide to move underneath. First we put an aluminum strip directly on top of the Unistrut and 3″ aluminum strip spacers on the front, middle, and back of each panel to raise the height.
After we connected the two upper front panels to the aluminum strips, leaving space in the middle and ends for bolts into the Unistrut, we set them on top of the 3″ aluminum spacers and bolted them into the Unistrut using Unistrut specific channel nuts with springs.
Back three panels
It was now time to start planning to mount the back 3 panels. We realized we had left just enough space for the panels between the fans. What we didn’t take into account is the space needed for the bolts between each panel. So the method we’d used for the 2 upper front panels was not going to work.
After discovering that we still had some leftover aluminum angle, we decided to use it to secure the back 3 panels. We drilled holes in the side of the unistrut and bolted in 6″ pieces of aluminum angle and used VHB tape to connect the panels to the aluminum angle.

Although using VHB tape to connect the panels to our roof rack sounds very scary, it’s not! When we first did our van renovation back in 2016 we initially didn’t trust VHB tape. It seemed crazy to use “tape” to secure expensive panels to our roof. We went ahead with it after some research and discovered that VHB tape is ridiculously strong. It held our panels onto the roof of our old van for the entire 4 years we lived in it with no issues.
LINK: VHB Tape


So far our shuttle bus roof rack has held up perfectly. We’ve had no problems or issues and it’s low profile looks great on the roof of our bus.
We hope this information on how we did our shuttle bus roof rack helps you! Building anything custom for the first time is very difficult, however the end result has been a functional and modular roof rack that will serve us as our needs change in the years to come.
This post contains affiliate links in which we receive a percentage of any purchase made.

Katherine Pinkard
Hi! Quick question. Would you still advise using the unistrut, but it being mounted on the fiberglass. We have a shuttle bus conversion as well, but it does not have the metal framing. There are some wood planks running along the top of the ceiling with the fiberglass but that’s about it.
savannah
Katherine PinkardHello Katherine! Unfortunately, we would not recommend mounting the roof rack into only the fiberglass. We’ve seen several of these buses without internal metal framing and that can present a lot of problems for mounting this securely. We would recommend that you frame out your bus with wood or metal (if you have the ability to weld) and then mount your roof rack through the fiberglass into the new framing. With the amount of weight and wind resistance that your roof rack will experience, you definitely want it to be secured to more than just fiberglass!