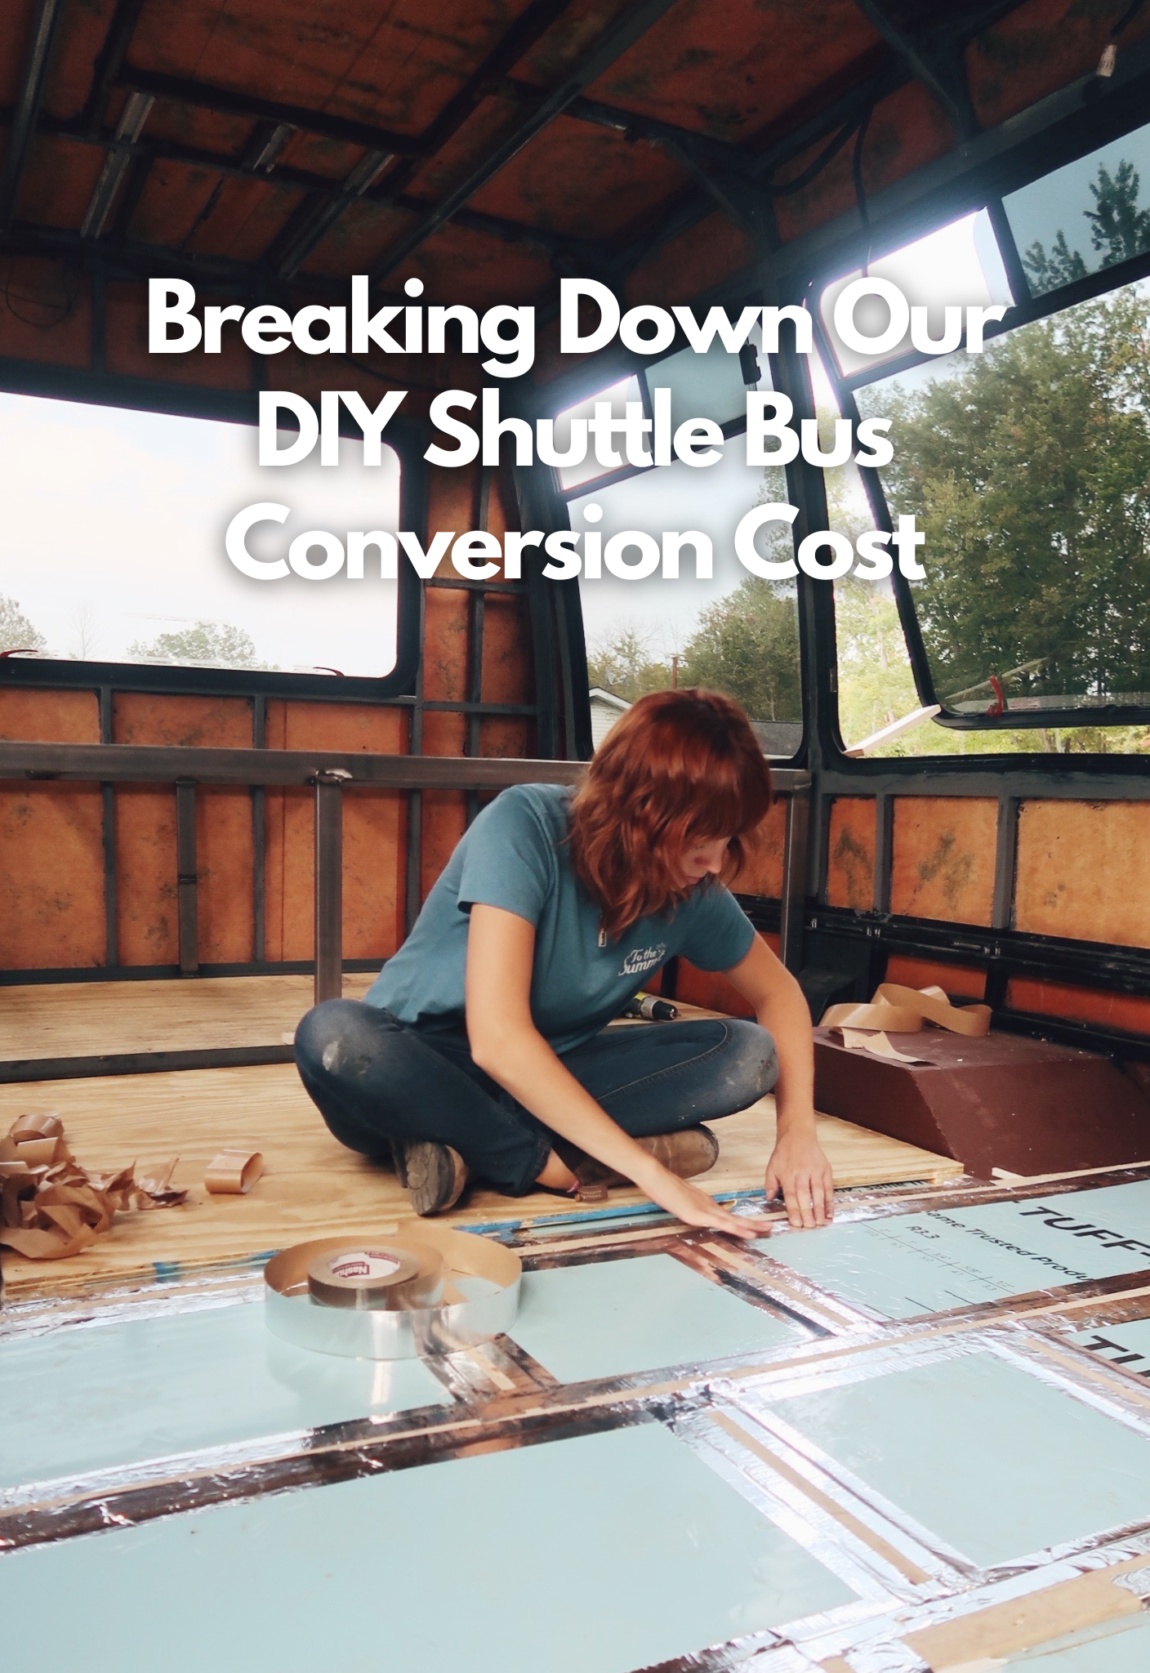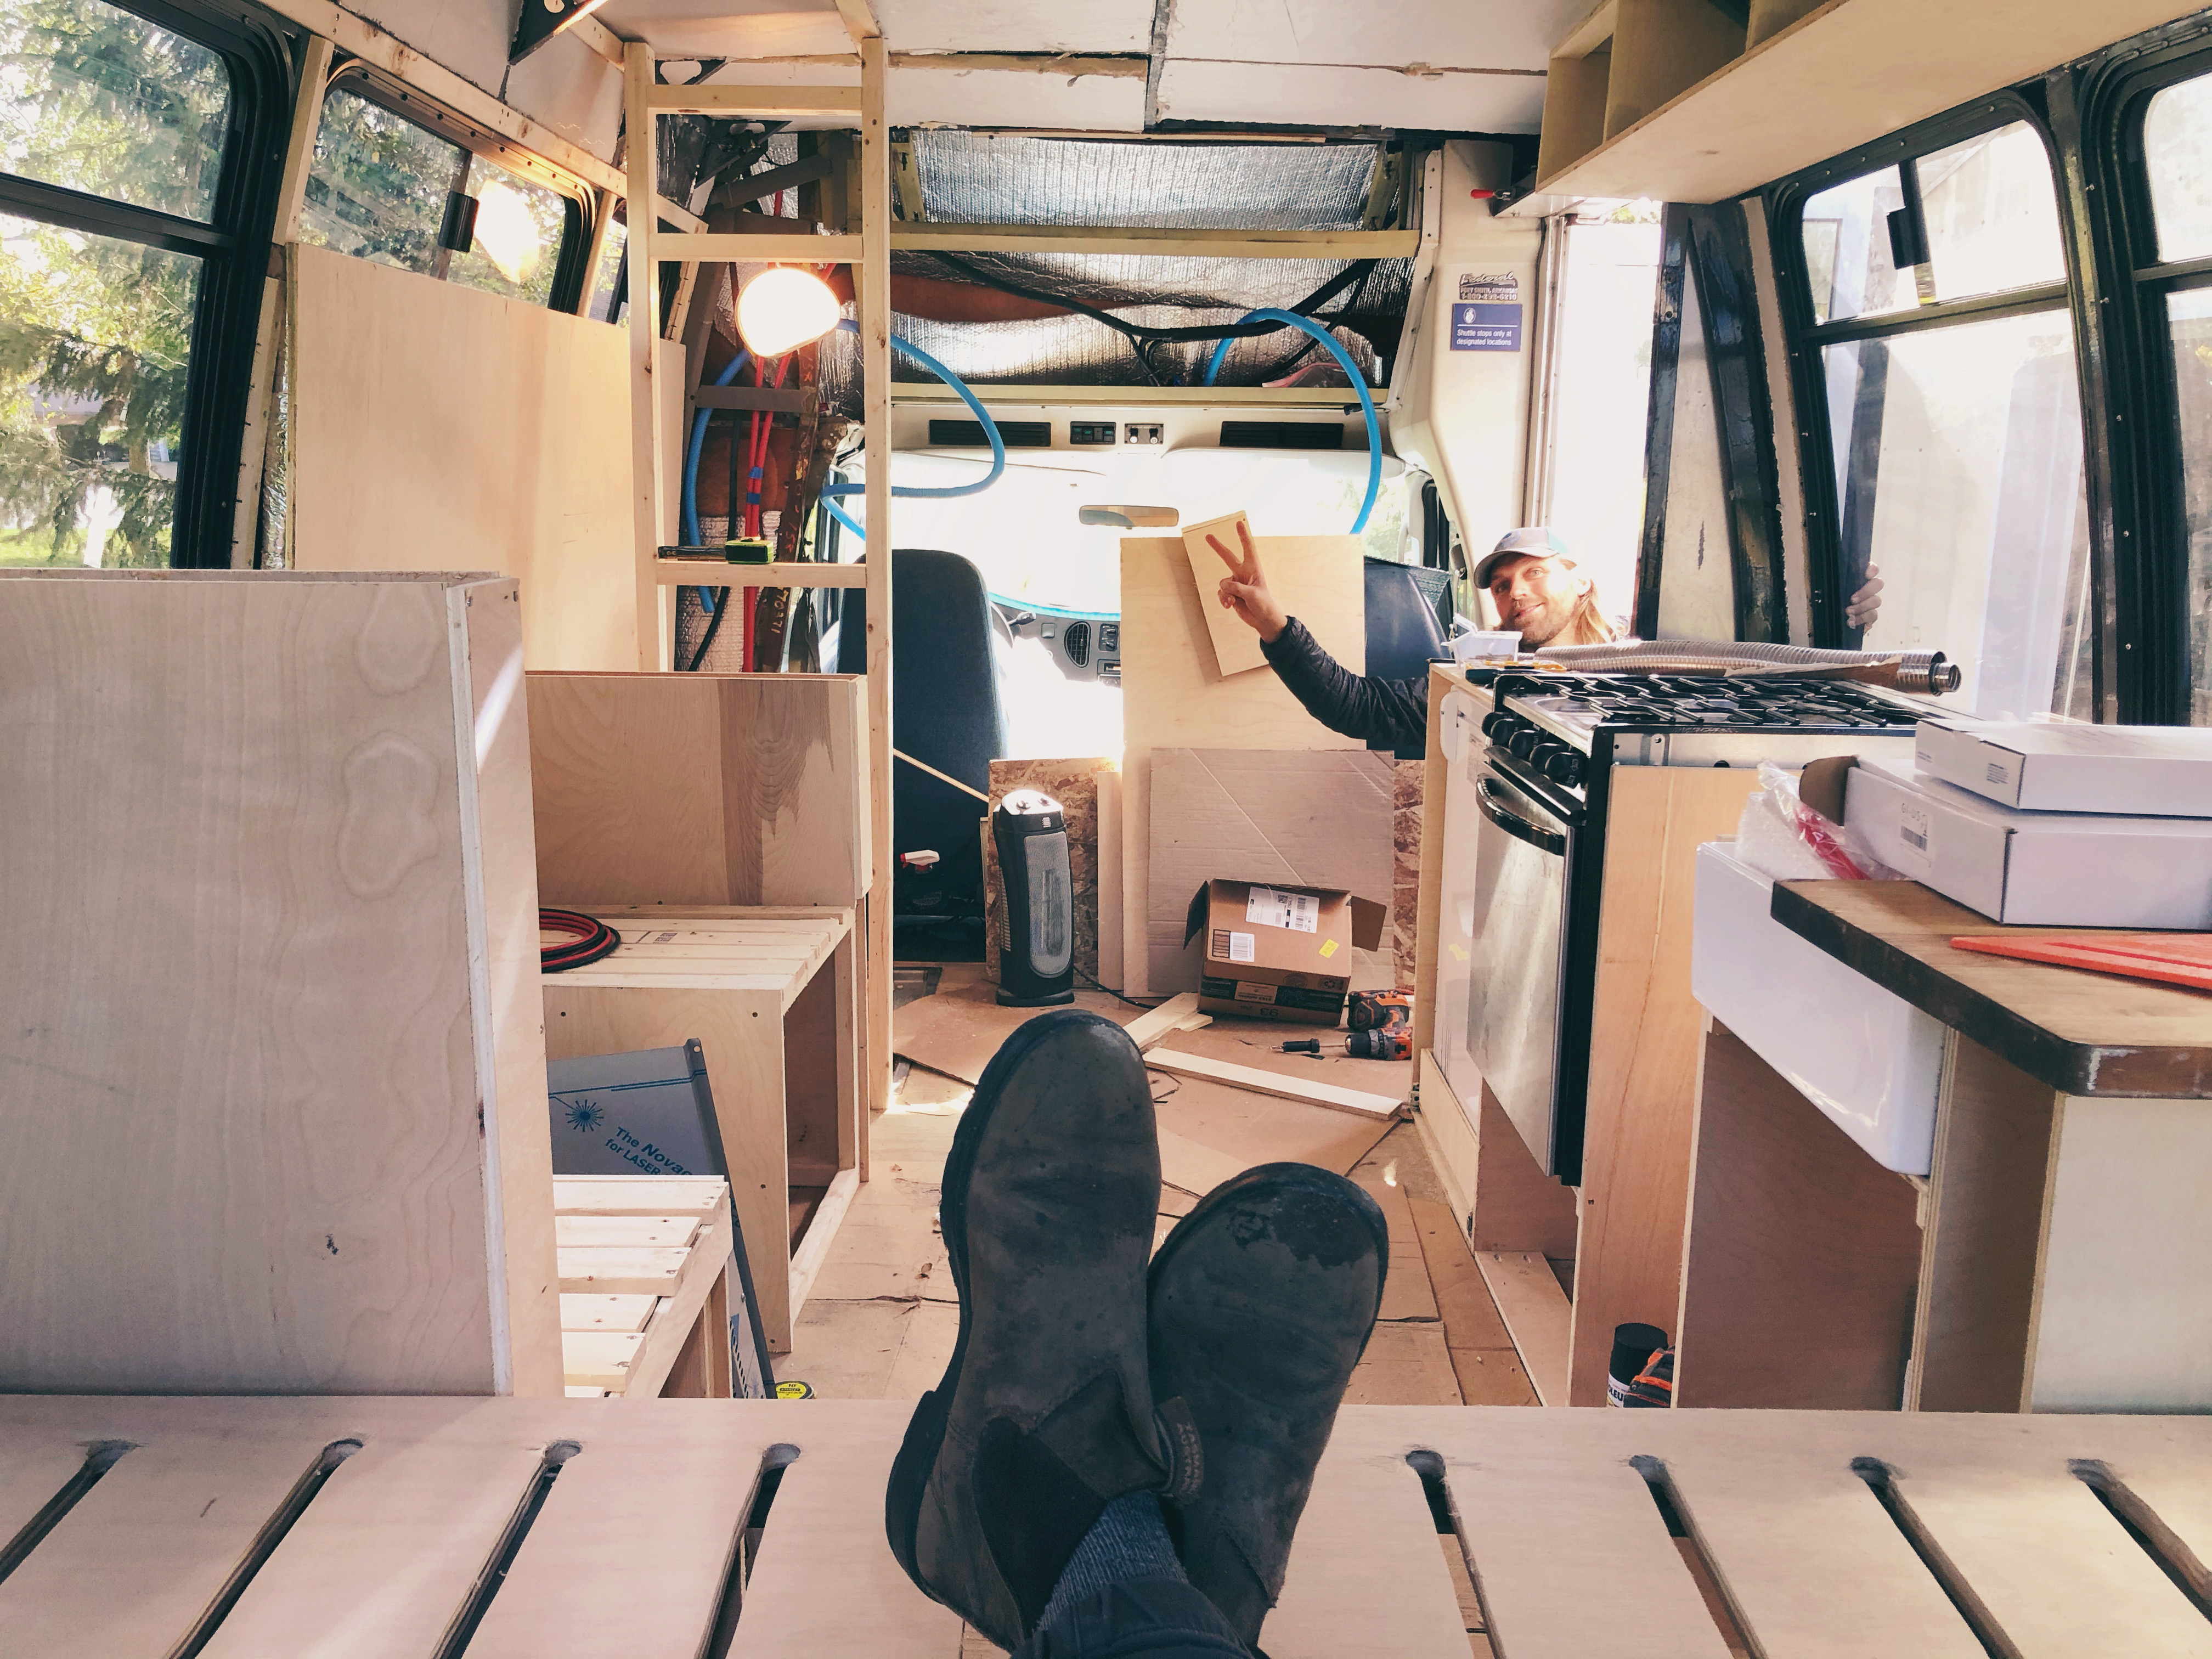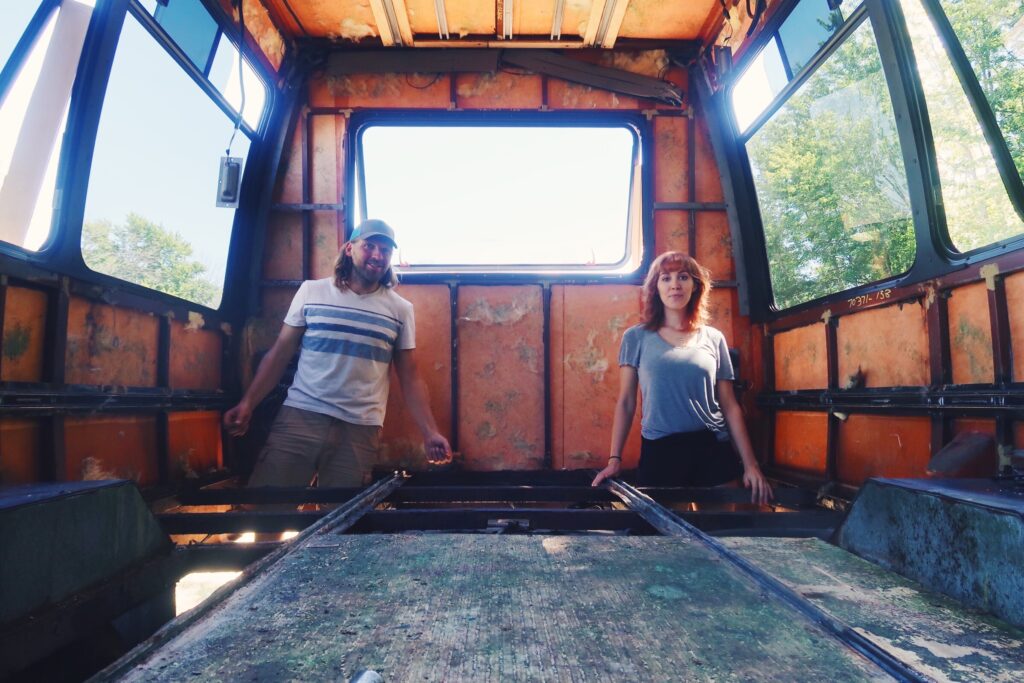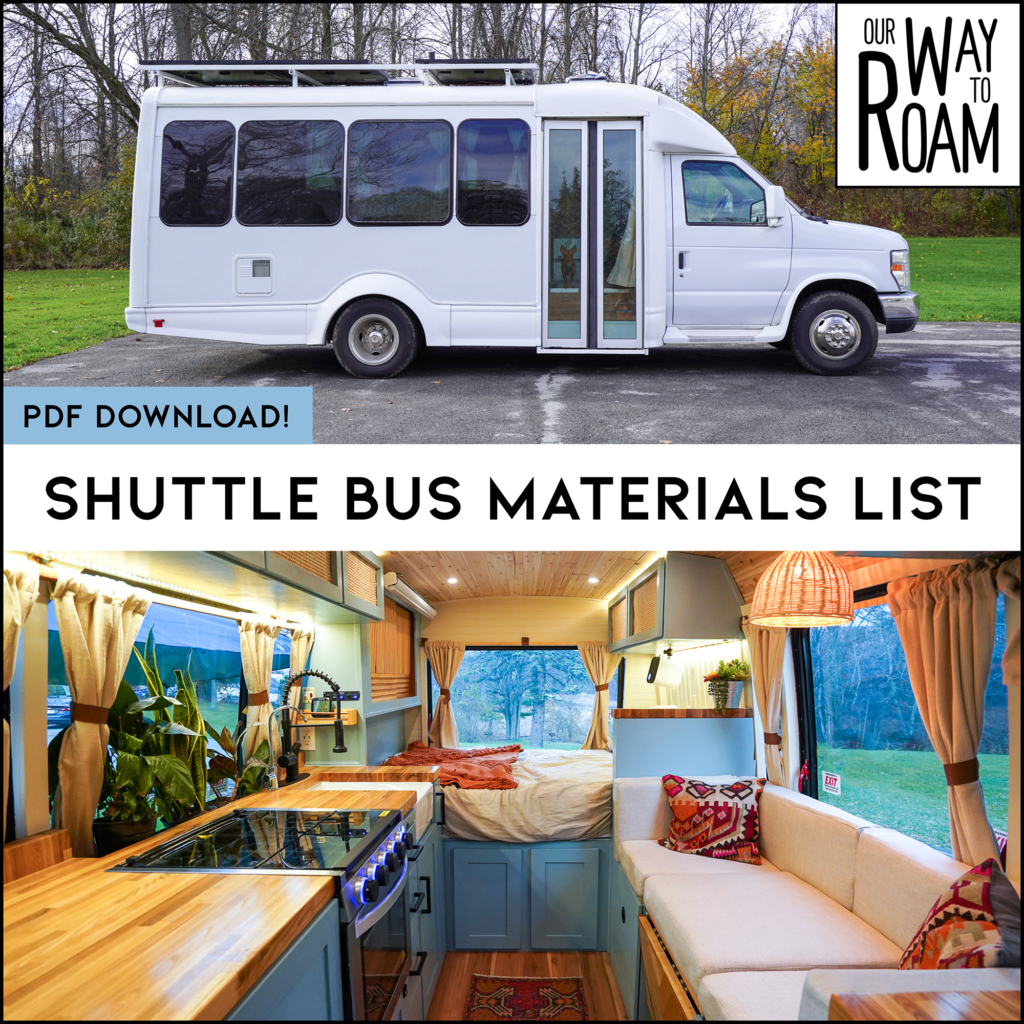
We will be the first to say that our shuttle bus is a huge luxury investment. The features we installed are not necessarily required to enjoy bus life on the road but they do help make full time living more comfortable. So what did our DIY shuttle bus conversion cost?
When we built our bus we had spent nearly 5 years living on the road full time. We both knew exactly what we wanted and were able to invest in the parts of the build we felt were important for our quality of life. There were quite a few upgrades we chose to support the experience we were looking for while staying within our budget.
Our shuttle bus build was started and completed in 2020. It seems that build materials and economic factors change dramatically with each passing year. Please keep this in mind as you read through our budget and try to adjust accordingly for the current climate.
While we’ve now converted 3 full vehicles from the ground up, our bus was our first conversion. We had a lot less experience and truly feel this was a DIY shuttle bus conversion project where we were learning as we went. Above all, we just wanted to gain experience and build ourselves the home we dreamed of. If we did it, you can too!
Let’s take a look at the DIY shuttle bus conversion cost for our vehicle!

Bus—$15,000
First and foremost, our 2007 shuttle bus cost us $15,000. This is the price exclusively for the bus and a few standard features that come with it. Of course, there are quite a few factors that influenced this price, including:
- Demand—Vanlife is becoming more popular, and the cost of buses and vans is increasing to match the demand for them.
- A Passenger Seat—Not all buses and vans have a full passenger seat, but we knew that we wanted one, so we prioritized that feature while searching.
- No Wheelchair Doors—Most shuttle buses come with wheelchair doors, which we did not believe would fit well with our plans for the bus, so we looked for an option without them.
- Shorter Length—We wanted to have as much clearance as possible, so we looked for a shuttle bus with dimensions to match this need.
- Higher Interior—Since Drew is 6’2”, we knew that we needed to be able to accommodate him walking around comfortably, so we specifically looked for a shuttle bus that would exceed his height.
- Mileage—Our shuttle bus had 104K miles on it when we purchased it.
The vehicle you choose for your DIY shuttle bus conversion is one of the most important decision you will make. Take it from us! We didn’t know what we were looking for and bought a bus with a lot of rust. Luckily we have welders in our family who could help us repair the damage but this is not always the case. You don’t want to purchase a bus at the end of it’s life and put a beautiful new conversion in it. The vehicle you choose is the bottom of the pyramid of your build. Make it a sturdy one!
Materials—$5300
A lot of materials went into our build, and the various materials all came with their own price tags. To make our bus feel like home, we had to use common home materials, like lumber, tile, paint, vinyl plank flooring etc.
Appliances—$2,600
There are many features that can make your shuttle bus feel more like home, but appliances are going to play a huge role here. For comfortable living on the road, we had to invest in essential appliances, like a heater, refrigerator, freezer, and stove.
Power System—$4800
Having energy on the road is important for safety, comfort, and being able to work from the road. Our system, including everything from our solar panels and batteries down to the wires throughout the bus, was our biggest investment. Drew is very interested in this aspect of the build and he always enjoys digging in and learning more about DIY solar power systems. Our shuttle bus build is where he really discovered his love for electrical. He built our battery bank from cells which saved us a huge amount of money in this area. Overall, our power system is one of our best investments. It allows us to enjoy free, accessible energy and makes our entire operation possible.
Tools—$500
We did all of the work on our shuttle bus ourselves. In order to accomplish all the work, we needed tools. And not just any tools, quality ones that actually get the job done. We already owned a few tools and have a lot of people around us that we could borrow from. However, we still were missing a few key components and needed to invest in some tools. These included a jigsaw, router, paintbrushes, drills, and more to bring it all together.
Extras—$1800
At this point we’d spent almost 5 years on the road. We knew that there were some upgrades we personally wanted to see with our shuttle bus build that we didn’t have in our first van. Most of these things were “luxuries” we didn’t necessarily need but wanted to have. We counted things like heated floors, projector, WeBoost and water filters in the ‘extras’ category. In the end, we certainly don’t regret a single one of our “extras”. Everything eventually came together to make the bus as comfortable as possible for full time travel.
You can see some of our build products here.
total: $30,000

We Made Our Dream Shuttle Bus Conversion—and You Can Too!
Combining the cost of our shuttle bus with all of the upgrades and accessories, our vehicle conversion cost us $30,000 in total. It is important to note that we made a lot of these investments while prices were high due to COVID—but we also did the work on the bus ourselves. In total, we spent five months turning the shuttle bus into a travel-friendly home for Our Way to Roam.
There are plenty of ways you can save on costs and cut down on the total price of your shuttle bus or van if you are looking to give vanlife a try. While you piece your vehicle together, always look for used or secondhand items. It also helps to have a complete vision before you get started. This eliminates unnecessary purchases from changing your mind.
We did it—you can too!

You can learn more about how we built our bus in our collection of digital resources.
We put together a spreadsheet breakdown of the EXACT materials we used to convert our second shuttle bus – down to every last piece of lumber and box of screws. We hope this resource can help give you a better idea of the DIY shuttle bus conversion cost. You can purchase that resource here!
Watch the full video breakdown of the costs of a DIY shuttle bus conversion below!

Andrea
What do you sell your buses or box trucks for? I’m referring to cost. Thanks so much. I e enjoyed watching your channel on YouTube
Steve lockhart
I live it! Tou guys did a steller job. And this is your first one? Impressive!
I’m trying to do my first bow, and feel way over my head. I’ve taken all the windows out and re-sheeting both sides. Too late to turn back now though.
Thank you for the inspiration.